Joy-Con — R button trace repair
Repair of a right Joy-Con R button with missing PCB pads and restored signal connections.
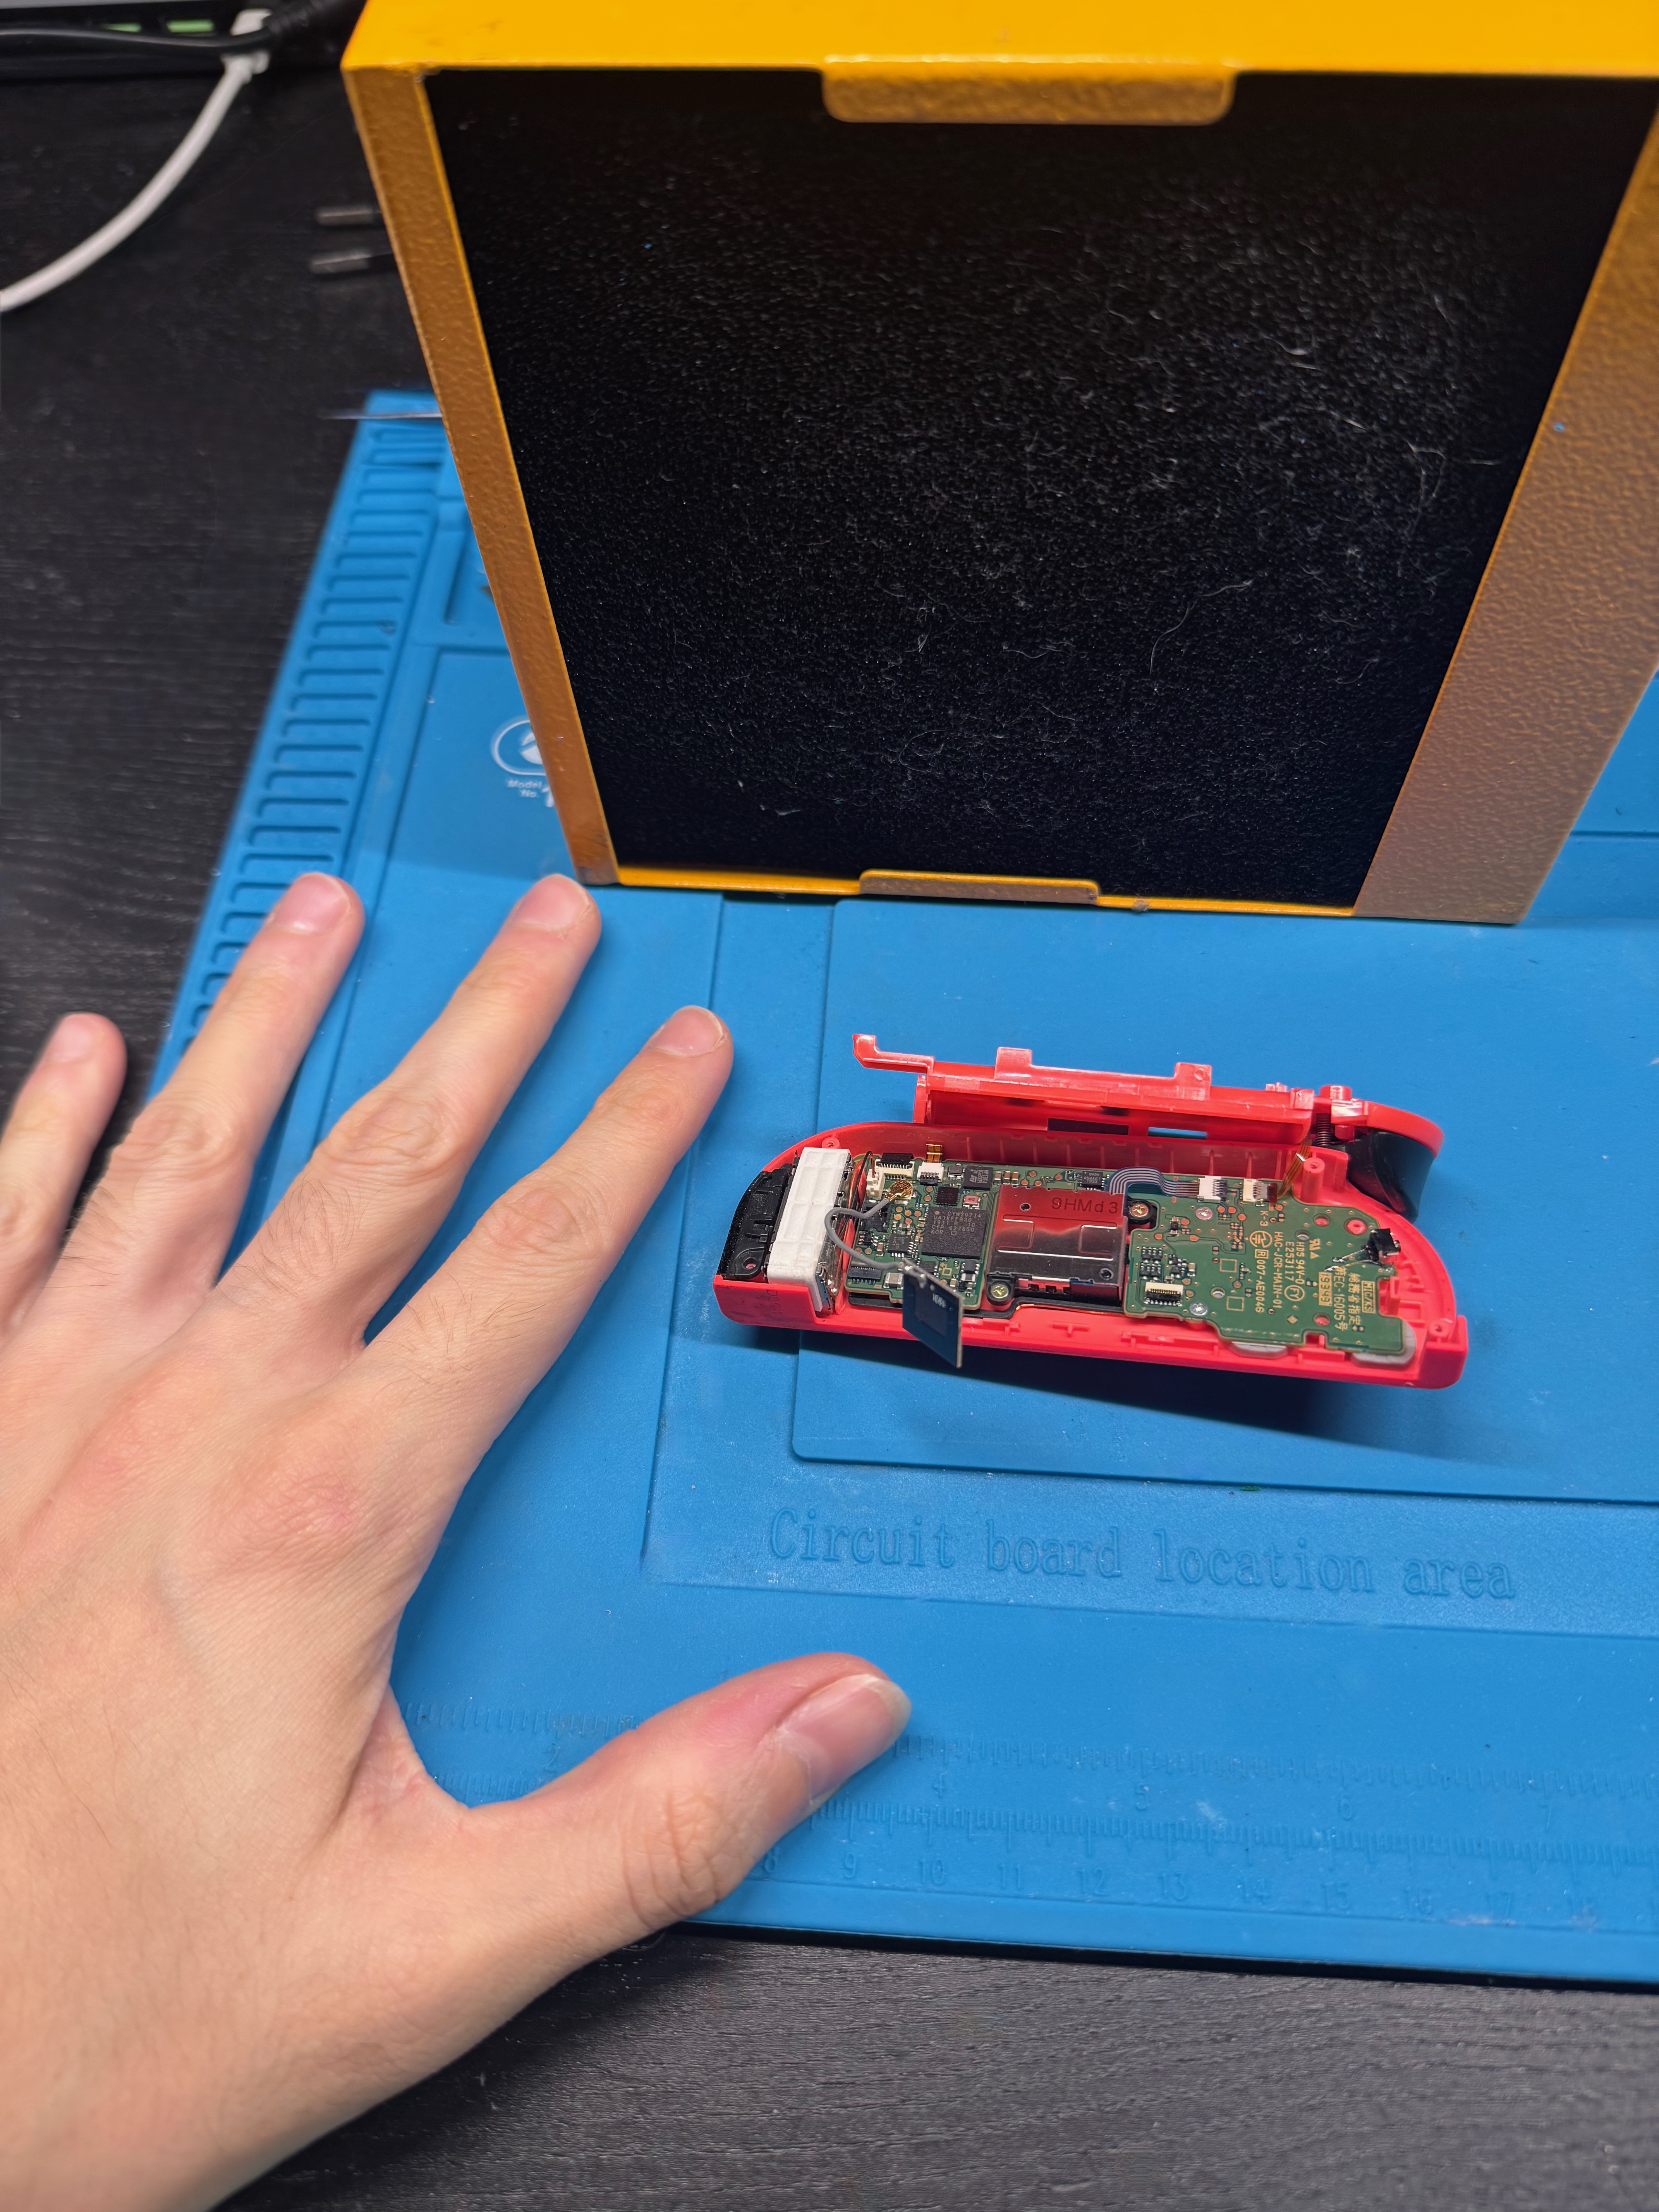
In this repair I worked on a right Nintendo Switch Joy-Con where the R button stopped working after a drop.
Unlike the left controller, where the L button is a separate module mounted on a flex cable, the R button on the right Joy-Con is soldered directly to the board. This makes the repair less immediate, especially when the damage is not limited to the button itself.
In this case, as often happens after a drop, the problem was not only a broken button: some of the pads used to solder the component had been ripped from the board. This makes the job more interesting than a simple button replacement, because installing a new button is not enough when the signal no longer has a valid path on the PCB.
The broken connections had to be rebuilt manually.
Why It Is Complicated
The right Joy-Con is a very compact controller. Inside there are battery, flex cables, antennas, vibration motor, joystick, buttons, and several small connectors. The R button area is even more uncomfortable because it is close to the top edge of the controller, with very little space around it.
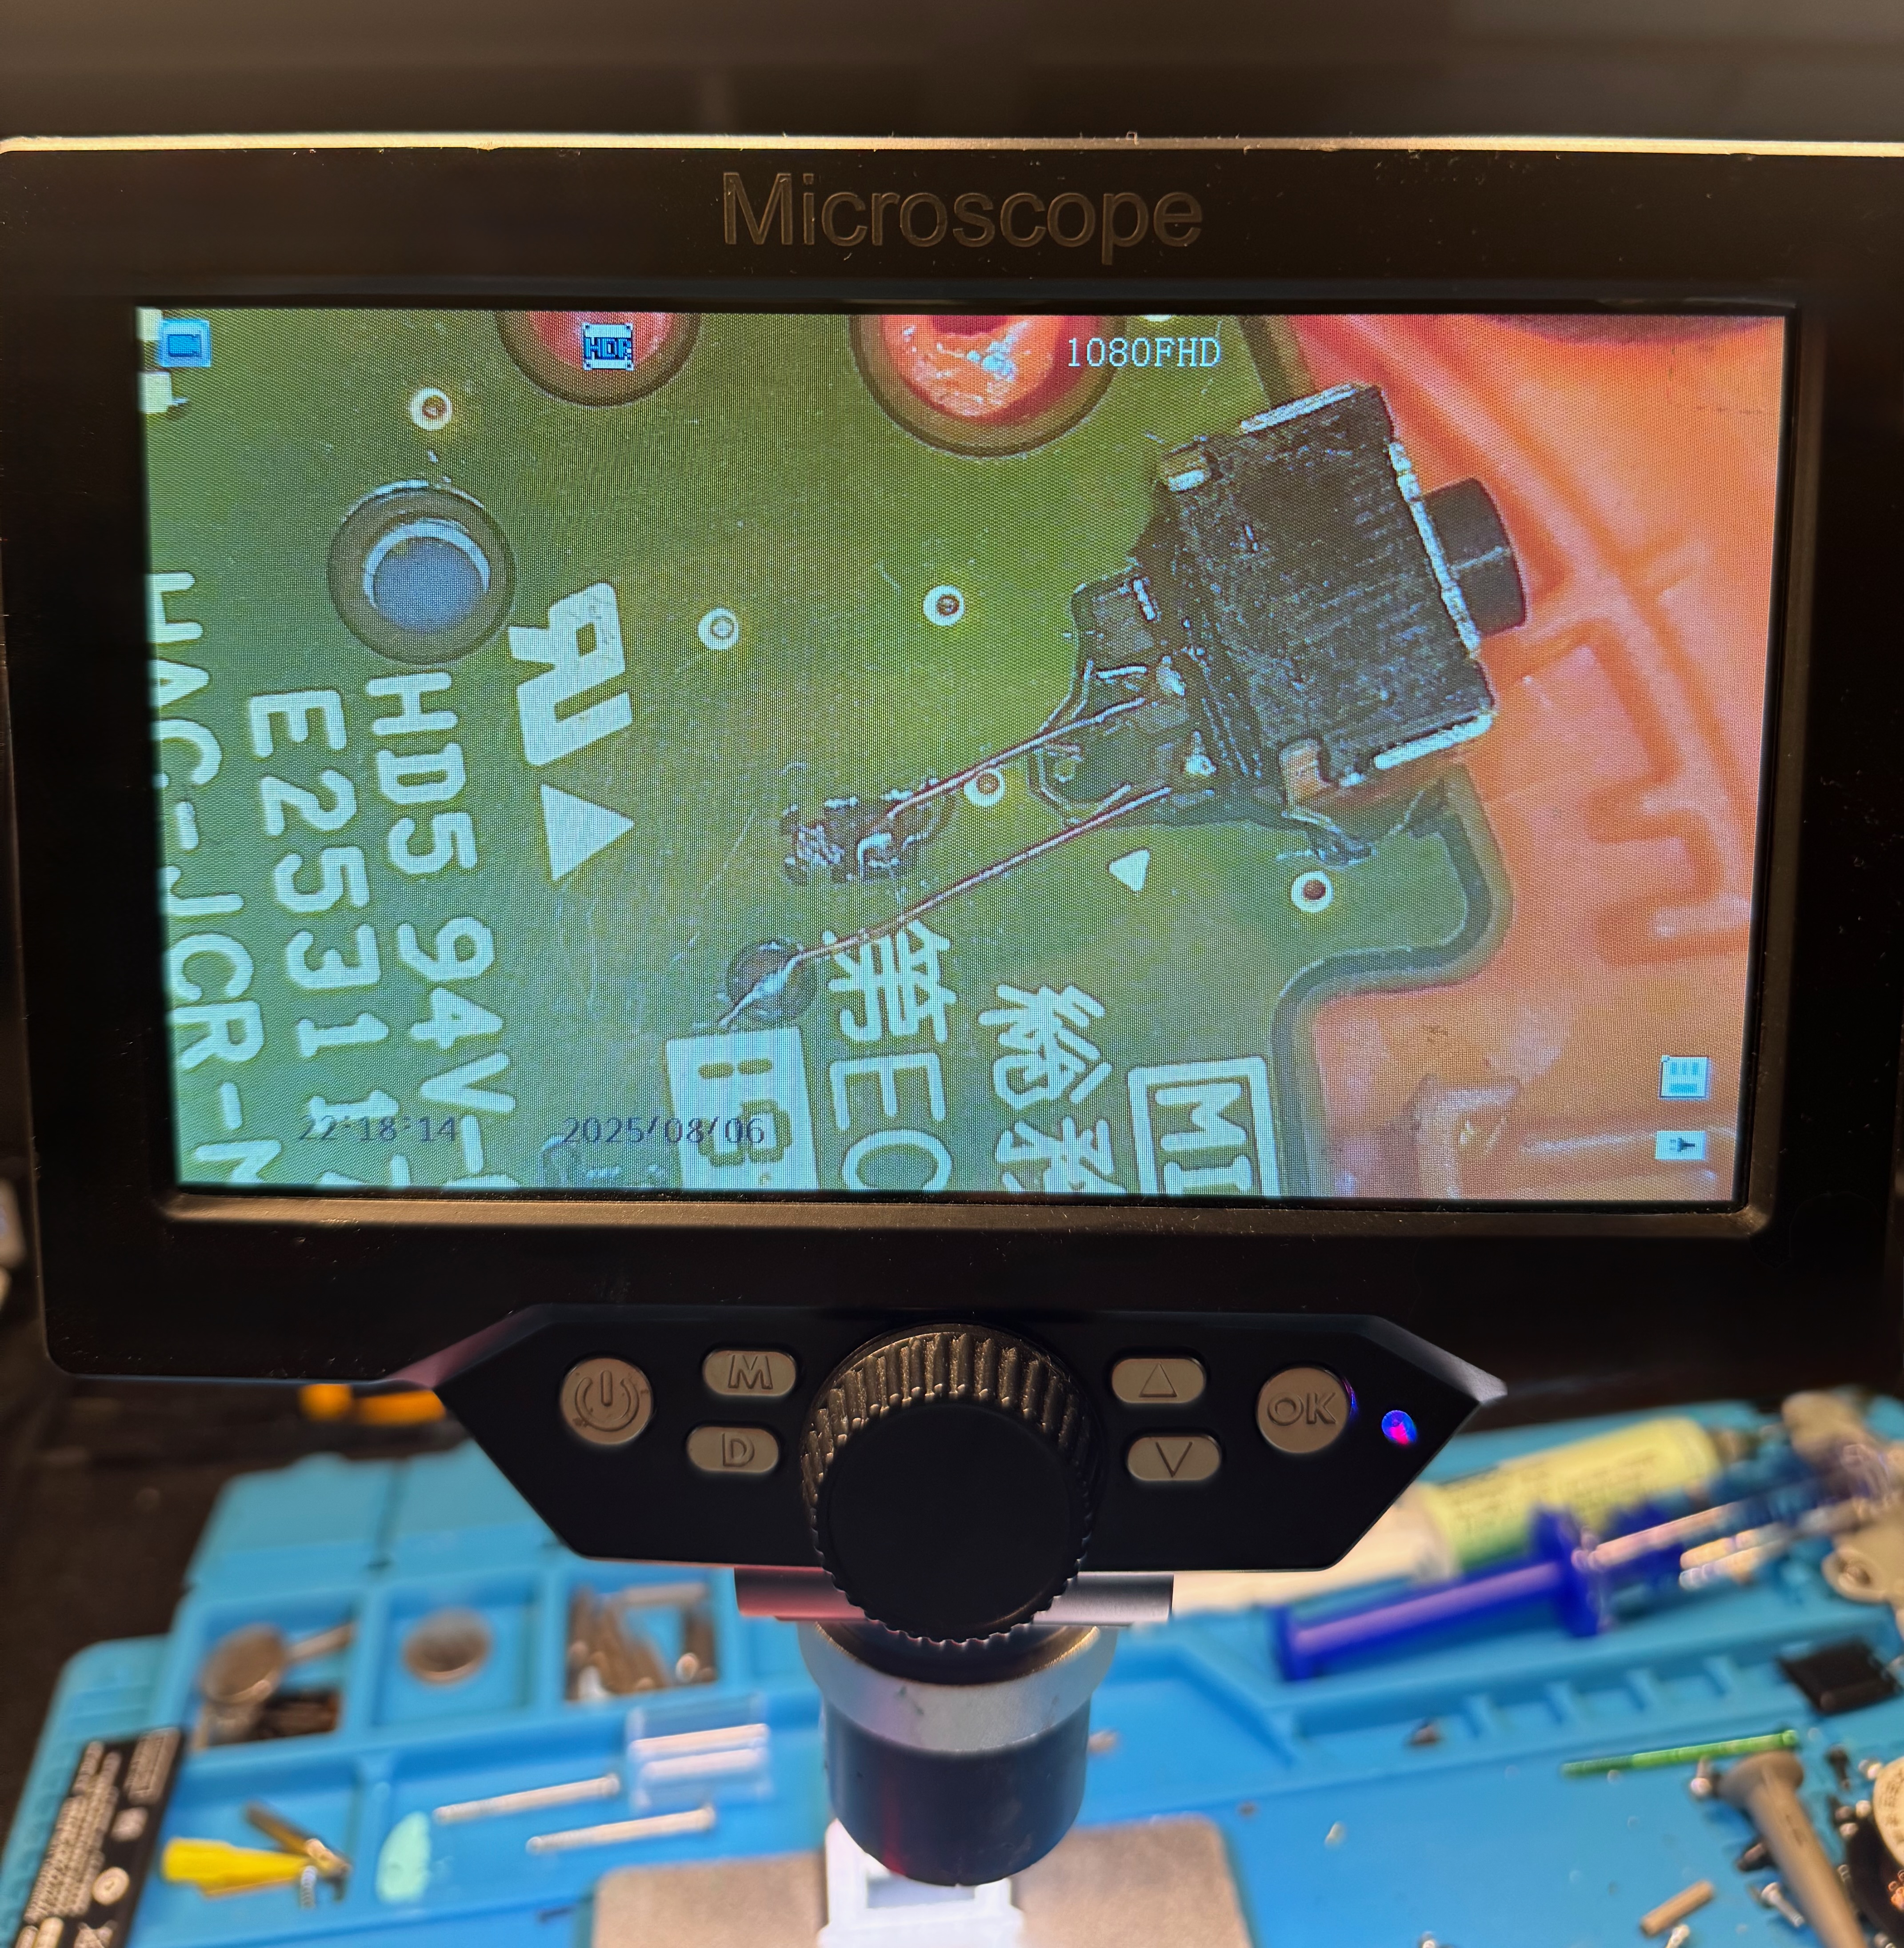
The main difficulty is not only soldering a small component, but doing it on a compact board that is already damaged. For this reason, using a microscope is essential: it helps identify which connections can still be used and where it makes sense to rebuild the signal path.
Repair
After removing the remains of the old button, I cleaned the area with flux and isopropyl alcohol. Then I checked under the microscope which pads were still usable and which connections had been ripped away.
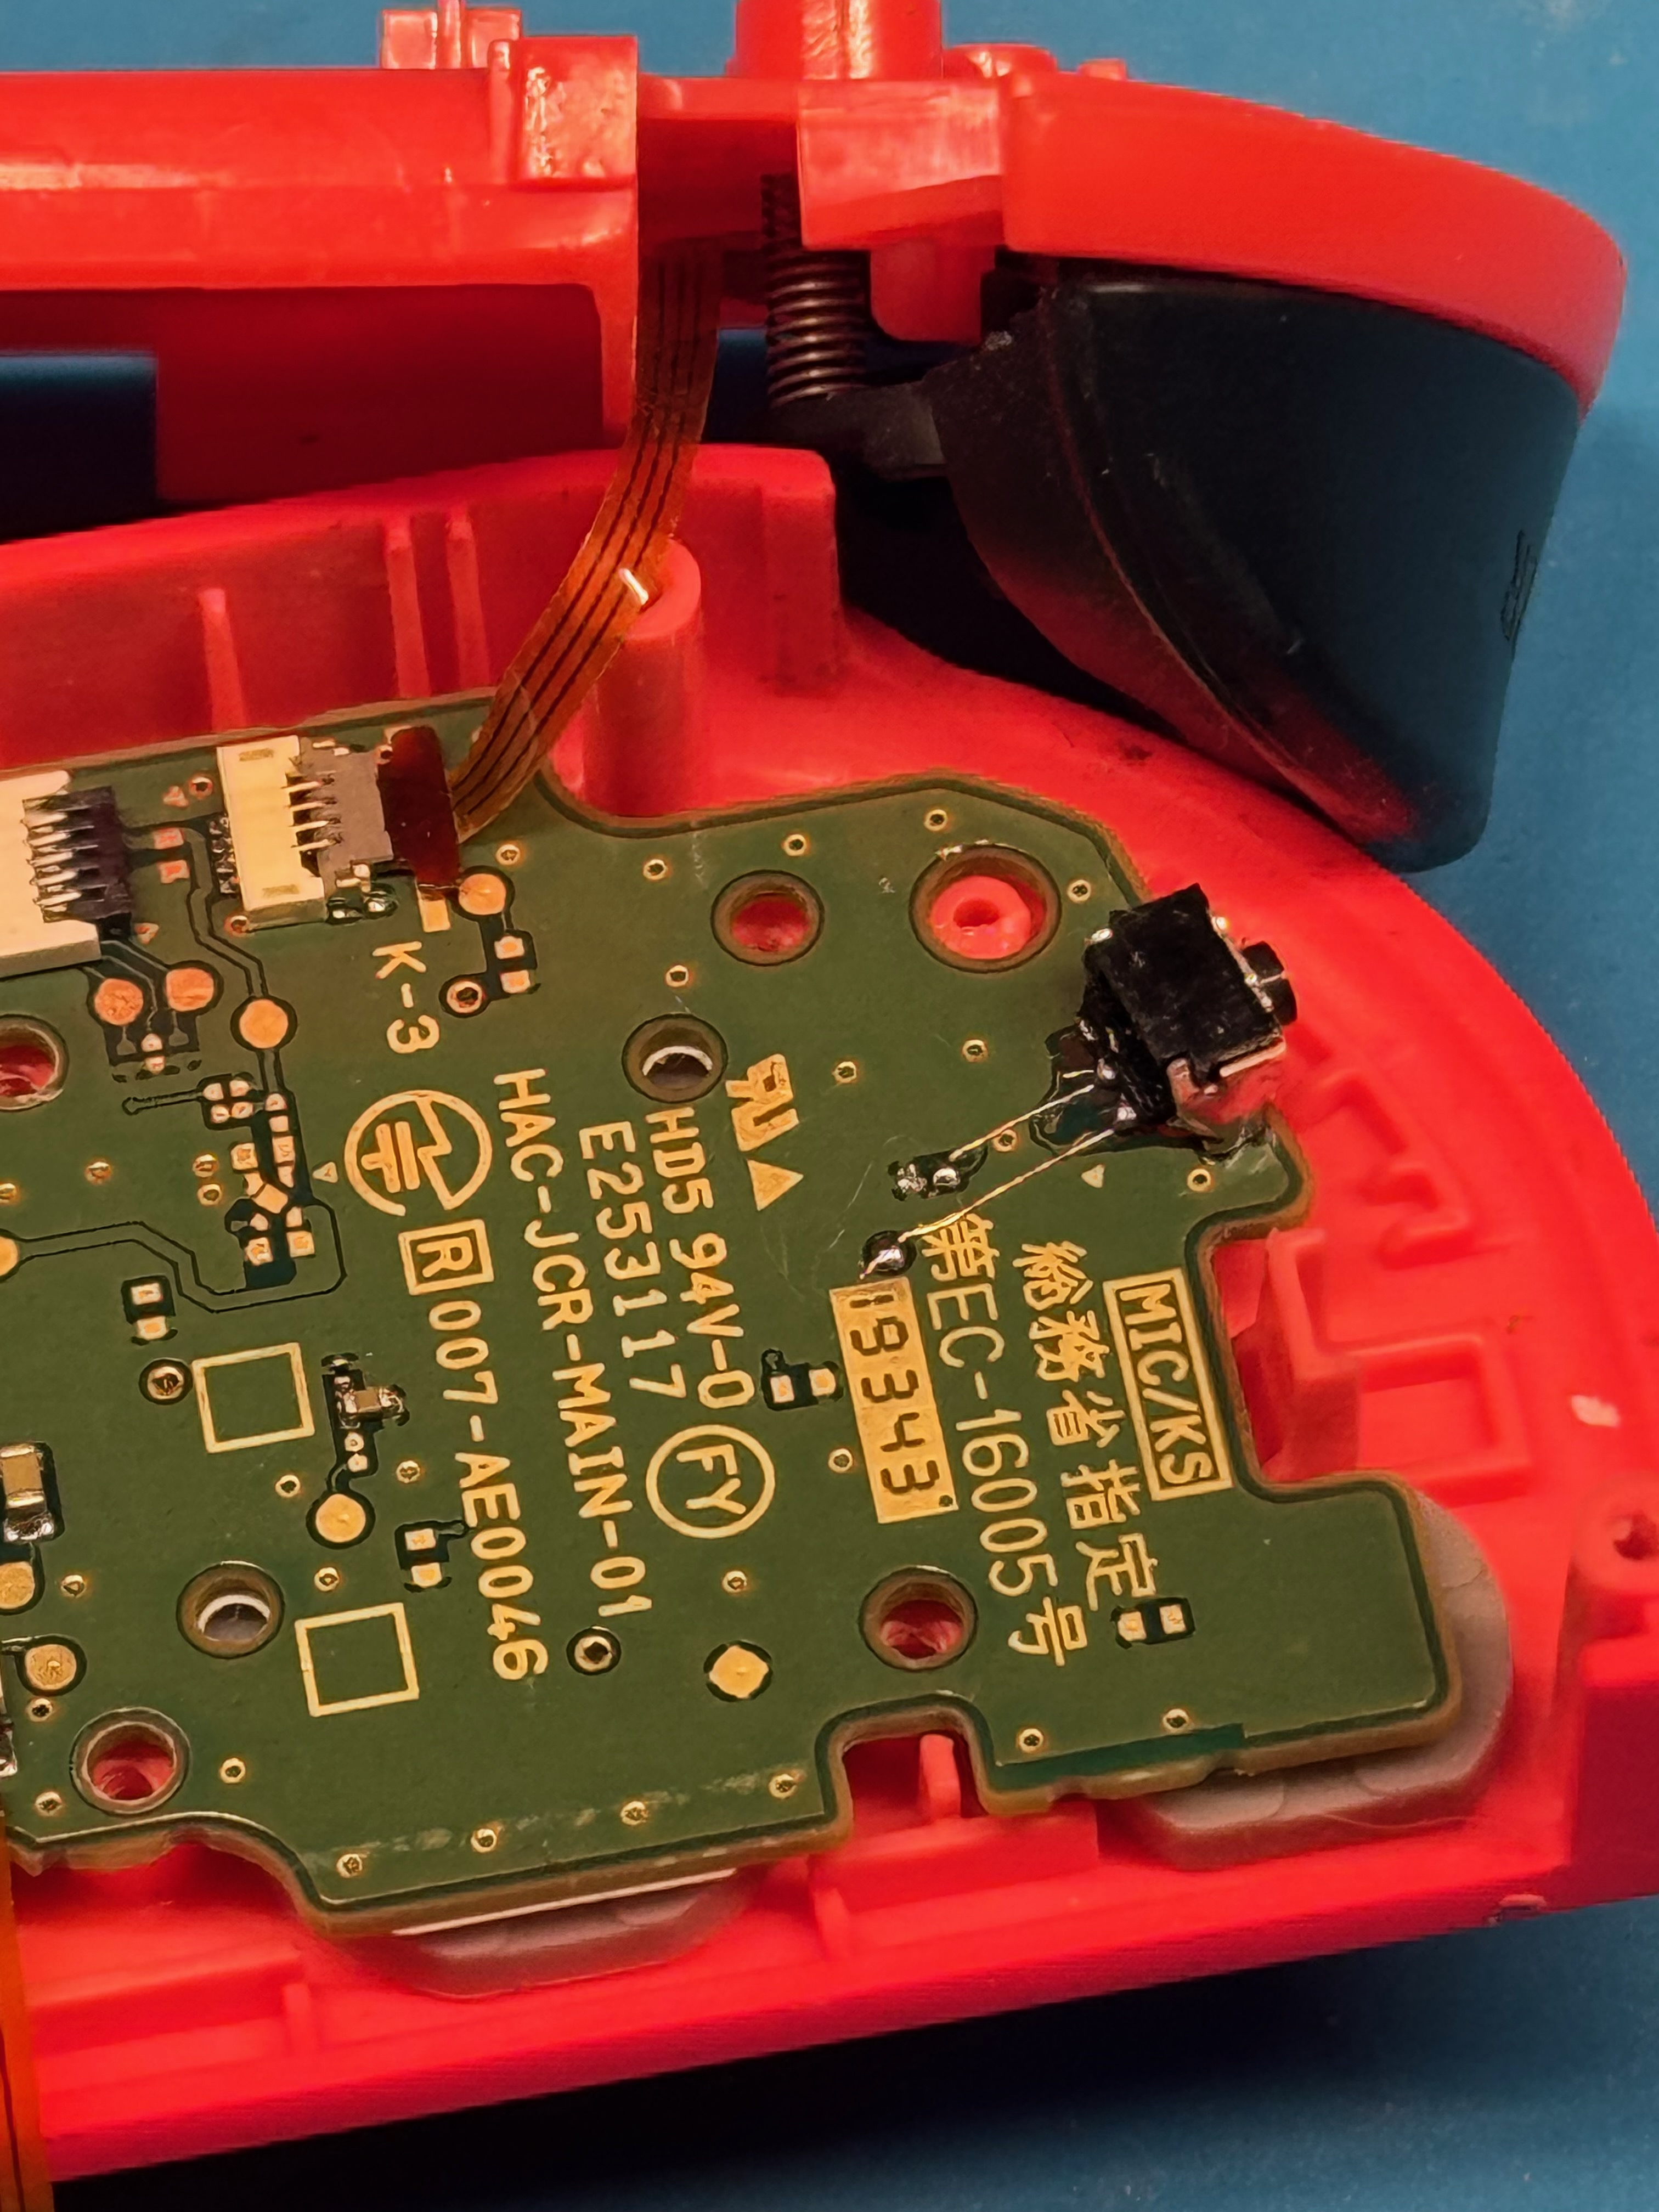
In this case, as shown in the photo, the main pads were missing. The traces that could have been exposed were too thin for a reliable repair, so I connected the two pins of the button directly to the related test points on the board.
Fortunately, the side anchors of the button were still intact. This allowed me to keep the component in position and add solder to make the mechanical connection stronger.
Finally, I checked with the multimeter that the signal was correctly detected when the button was pressed.
After reassembly, I tested the Joy-Con from the console button test screen, verifying that the R button was detected consistently on every press. I also checked the other controls to make sure nothing had been affected during disassembly.
Final Notes
This repair is useful to show because it makes the scale of the work very clear. It is not only about replacing a part, but about working on very small traces and understanding how to rebuild connections by reading the circuit.
It is the kind of repair where precision and patience make the difference.